Want to share your Google Doc without the hassle of complicated sharing options or long links? Create a QR code in just a few simple steps! Simply open your document, select “Publish to the web,” copy the URL link, paste it into a QR code generator, and voila!, your unique QR code is generated in seconds. Download or print the image, and share it with others for easy access. Say goodbye to the hassle of sharing documents and hello to the convenience of QR codes!
Understanding QR Codes
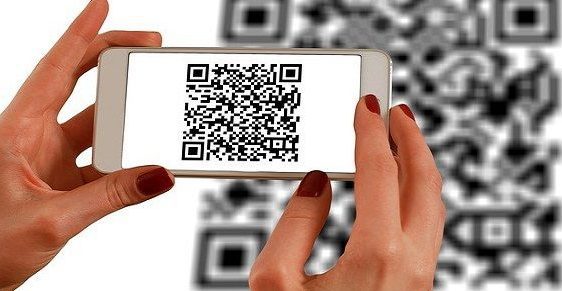
QR codes are essentially two-dimensional barcodes that can be read using a smartphone or a QR code reader. These codes store a variety of formats such as text, URL, or files. QR codes can make it super easy to scan and share information in a hassle-free way. They have become increasingly popular in recent times, as they offer a quicker and efficient way to communicate information without any errors or hassles of typing. In this article, we will be discussing how to create a QR code for a Google Doc.
Setting up a Google Doc
Creating a Google Doc is a straightforward process, and you can do it within minutes. After you log into your Google account, click on the Google Drive tab and then create a new document. Once you have created your Google Doc, you can start creating content, editing, and formatting text as you desire.
Installing a QR Code Generator Extension
To generate QR codes for your Google Doc, you will need to install a QR code generator extension. Many excellent extensions are available for free on Google Chrome. Here are some top picks:
- QR Code Generator
- QR Code Generator PRO
- QR Code Generator for Website
After selecting an extension, click on Add to Chrome to install it, and then let it run. This completes the installation process.
Generating a QR Code for your Google Doc
Step 1: Open your Google Doc, and then click on the QR code generator extension icon in the toolbar.
Step 2: Choose the type of data you want to encode in the QR code. You can choose between URL, text, bookmark, contact info, calendar event, email, phone number, SMS, and Wi-Fi connection.
Step 3: Enter the data content in the field provided. If you have chosen a URL, it will automatically extract the URL from the Google Doc you are working on.
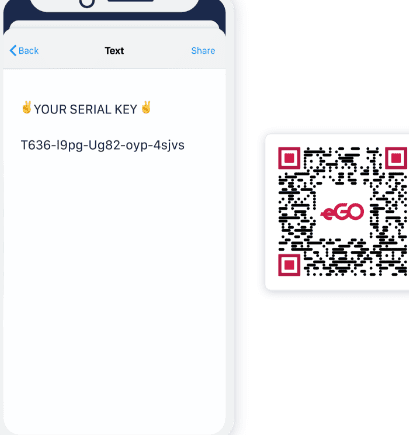
Step 4: Click on Generate QR Code. A QR code image will appear beside the output box.
Customizing your QR Code
Most QR code generator extensions allow you to customize your QR code by changing the color, shape, size, logo, and even adding a frame. This makes your QR code more visually appealing and branded to your business. To customize your QR code, click on the Setting icon in the QR code generator extension, and then make the necessary changes.
Testing your QR Code
Before sharing your QR code, it is essential to test whether it works correctly. Use a QR code reader or smartphone to scan the QR code and confirm that it directs to the intended document.
Sharing your QR Code
After confirming your QR code works correctly, it is time to share it. You can share the QR code directly from your Google Doc, embed it on your website, social media profiles, business cards, or flyers. Since QR codes can be scanned from anywhere, make sure you share it with the right audience who will appreciate its convenience.
Creating a QR code for your Google Doc is an easy, quick, and effective way to share information with your audience. With the steps outlined in this article, you can get started with generating your QR codes today.

