Are you tired of juggling multiple pieces of paper or trying to remember where you saved your QR code? Say no more! With Apple Wallet, you can store your QR code with ease, making it accessible whenever you need it. Here’s how to do it in just a few clicks:
How to Send Your QR Code to Your Wallet
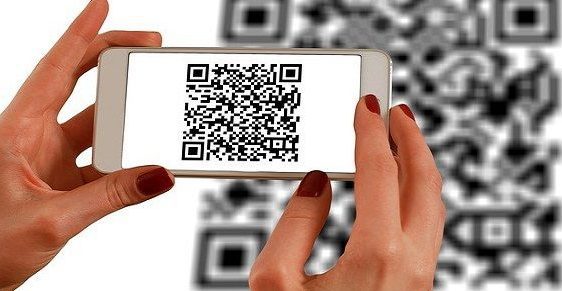
QR codes have become a part of our everyday lives, helping us to easily access digital information with just a scan. And with the advent of mobile wallets, it’s easier than ever to store your payment information and loyalty cards all in one place. In this article, we’ll take you through the steps to send your QR code to your wallet using Apple Wallet as an example.
Setting up Your Wallet App
The first step is to ensure that you have a wallet app installed on your smartphone. For Apple users, the native Wallet app is pre-installed. For Android users, you can use apps like Google Wallet or Samsung Pay. Once you have your app set up, you’re ready to start the process of adding your QR code.
Activating Apple Wallet Tickets
To add your QR code to Apple Wallet, you’ll need to activate the Apple Wallet tickets feature. This is a standard feature that is already built-in to the app. To activate it, follow these simple steps:
- Open your Wallet app
- Tap the “Allow” button to activate Apple Wallet tickets
Preparing to Scan Your QR Code
Once you’ve activated the Apple Wallet tickets feature, you’re now ready to scan your QR code. To do this, simply follow these steps:
- Tap the “Scan Code” button on the Wallet app
- Hold your iPhone steady
Uploading Your QR Code
With your iPhone steady, you’re now ready to scan your QR code. You can do this by aligning the QR code within the frame of your camera. Once your phone detects the code, it will automatically upload the associated ticket into your Apple Wallet.
Keeping Your iPhone Steady
It’s important to keep your iPhone steady during the scanning process, as any movement can cause the QR code to go out of focus. This can result in an error during scanning or cause delays in uploading your QR code. Make sure to hold your iPhone still until the QR code opens automatically in your Apple Wallet.
Automated Addition of QR Code to Apple Wallet
Once your QR code has been successfully scanned and uploaded, it will be added automatically to your Apple Wallet. You’ll now be able to access it easily by opening the Wallet app, where you can view and use your QR code as required.
In conclusion, sending your QR code to your wallet is a simple process that you can do straight from your smartphone. By following the easy steps outlined in this article, you can quickly and easily add all your important information to your mobile wallet, making it easily accessible whenever you need it.