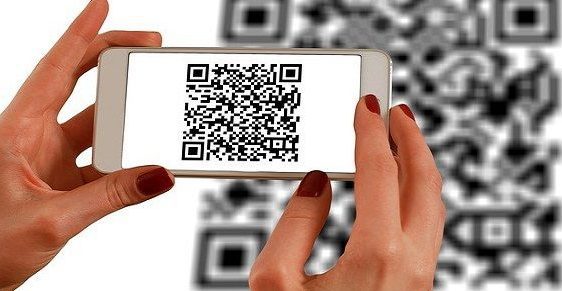
Looking for a quick and easy way to add an extra layer of security to your Outlook account? Look no further than QR code authentication! All you need to do is follow these simple steps:
It’s that simple! By enabling QR code authentication, you’ll be adding a valuable layer of protection to your Outlook account and ensuring that your personal information stays safe and secure.
Overview of QR code authentication in Outlook
QR codes are a popular way to access information quickly and easily. When it comes to securing your Outlook account, you can use a QR code to set up an authenticator that adds an extra layer of security to your login process. This process involves setting up additional security verification in Outlook, choosing the Authenticator application, configuring the application, starting it up, and adding a school or work account to the Authenticator.
Setting up additional security verification
Before you can use a QR code to set up an Authenticator, you need to set up additional security verification in Outlook. This can be done by logging into your Outlook account on your computer, and visiting the “Additional security verification” page. Once there, choose the box next to Authenticator application, and then choose Configure.
Choosing the Authenticator application
Once you’ve selected to use the Authenticator application, you’ll need to choose which application you want to use. There are several available, but Microsoft recommends using their own Microsoft Authenticator app. This app is available for free in both the App Store and Google Play Store.
Configuring the Authenticator application
After downloading and installing the Microsoft Authenticator app, you’ll need to configure it. This can be done by opening the app and clicking the plus icon, then selecting “Add account.” From there, select “school or work account” and then scan the QR Code.
Starting the Authenticator application
Once the app is configured, you can start using it right away. Whenever you log into Outlook, you’ll be prompted to enter your password as usual. But instead of being taken directly into your account, you’ll need to open the Authenticator app and approve the login attempt. This helps prevent unauthorized access to your account, even if someone has your password.
Adding a school or work account to the Authenticator
To add a school or work account to the Authenticator, you’ll need to follow the steps listed earlier for configuring the app. Once the account is added, you can use the app to access any services associated with that account. This can help keep your work or school data secure, and prevent unauthorized access to sensitive information.
Scanning the QR code to complete the setup
Finally, to complete the setup process, you’ll need to scan the QR code provided during the configuration process. This helps link your authenticator app with your Outlook account, so that you can use it to log in securely. By using a QR code, you can quickly and easily set up an authenticator that helps protect your data and sensitive information from unauthorized access.
In conclusion, setting up a QR code authenticator in Outlook is a simple and effective way to improve your account security. By following the steps outlined above, you can configure the Authenticator app and add a school or work account with ease. With an extra layer of security in place, you can rest assured that your sensitive information is protected from prying eyes.