QR codes have revolutionized the way we quickly access digital content with just one scan. And if you’re looking to create one using Microsoft, you’re in luck! The process is straightforward and effortless. Here’s how it’s done:
Creating QR codes for Microsoft Forms or other projects has never been easier. Now you can direct your audience with a scan of your personalized code!
Getting Started with QR Codes in Microsoft
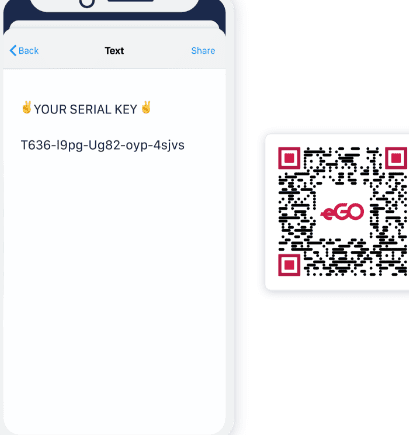
QR codes have become ubiquitous in recent years, popping up on everything from merchandise packaging to restaurant menus. These codes are a type of matrix barcode that can be scanned by a smartphone camera to quickly provide information or direct users to a website or application.
If you want to create a QR code in Microsoft, you can do so easily through Microsoft Forms. This tool allows you to create custom surveys and quizzes, and it also includes an option to create custom QR codes. With this feature, you can quickly generate a QR code that can be inserted into documents or shared via email, social media, or other digital platforms.
Exploring QR Code Creation in Microsoft Forms
To create a QR code in Microsoft Forms, you first need to create a new form or open an existing one. Once you’ve done that, click on the “Send” button in the top-right corner of the screen. This will open up a menu of different sharing options, including email, social media, and QR codes.
To create a QR code, simply click on the QR Code icon in the bottom of the menu. This will generate a custom QR code that can be shared or embedded in your document. You can customize the QR code’s appearance by using the options in the menu, such as changing the color and size.
Step-by-Step Guide: Creating a QR Code in Microsoft
If you’re new to creating QR codes in Microsoft, you may be wondering what steps you need to follow. Here’s a step-by-step guide to get you started:
1. Open Microsoft Forms and create a new form or open an existing one.
2. Click on the “Send” button in the top-right corner.
3. Select the QR Code icon in the bottom of the menu.
4. Customize the QR code’s appearance (optional).
5. Click the “Save” button to generate the QR code.
6. Copy the code or download it as an image file.
By following these steps, you can quickly create a custom QR code that can be used in a variety of different ways.
Using Microsoft Forms to Create Custom QR Codes
One of the most useful features of Microsoft Forms is its ability to create custom QR codes. These codes can be used in a variety of different ways, from promoting your business to sharing information with colleagues or friends. Here are a few examples of how you can use custom QR codes:
– On business cards: Include a QR code on your business card that directs individuals to your website or social media accounts.
– In advertising: Create custom QR codes for a specific campaign or advertisement.
– In documents: Embed QR codes in documents to provide additional information.
Custom QR codes can be used in a variety of other ways as well, and Microsoft Forms makes it easy to create them quickly and easily.
Saving and Inserting a QR Code in Your Microsoft Documents
If you’ve created a custom QR code in Microsoft Forms, you’ll likely want to insert it into a document or share it with others. Here’s how to do that:
1. Save the QR code using the “Save” button in the QR Code menu.
2. Copy the code or download it as an image file.
3. Open the document you want to insert the QR code into.
4. Click on the “Insert” tab in the top menu.
5. Select “Pictures” and choose your saved QR code file.
6. Resize and position the QR code as desired.
By following these steps, you can easily insert a custom QR code into a Microsoft Word document or other file.
Tips for Making the Most of Microsoft’s QR Code Functionality
Now that you know how to create and insert QR codes in Microsoft, here are a few tips to help you make the most of this functionality:
– Use eye-catching visuals: Adding color and design elements to your QR code can make it more visually appealing and help it stand out.
– Test your QR codes: Before sharing your QR code with others, be sure to test it yourself to ensure it works properly.
– Provide clear directions: If you’re using a QR code to link to a website or application, be sure to provide clear directions on how to download or access the content.
– Analyze your data: If you’re using QR codes in advertising or marketing campaigns, consider using analytics tools to track and analyze data on engagement and user behavior.
By following these tips, you can create effective and engaging QR codes that will help you connect with your audience in new and creative ways.