Quickly add your favorite passes to your Apple Wallet with a simple QR code scan! No AI needed, just follow these 5 easy steps:
Your Apple Wallet will now hold your passes for easy access anytime, anywhere on your mobile device. Say goodbye to rummaging through your purse or backpack and say hello to convenience!
Introducing QR codes and Apple Wallet
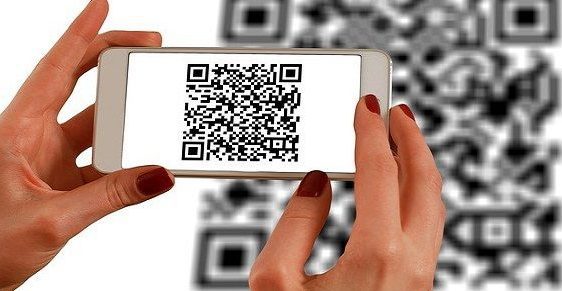
Quick Response (QR) codes are unique two-dimensional codes that can be scanned by smartphones equipped with a camera and a QR code reader. They hold a vast amount of information compared to conventional barcodes, including text, URLs, and contact information. The Apple Wallet, formerly known as Passbook, is the digital wallet app developed by Apple that allows users to store and manage their digital passes, boarding passes, loyalty cards, tickets, and coupons, all in one place. Wallet has become increasingly popular among merchants, airlines, and event organizers who now offer digital passes to their customers.
Creating a Pass through a QR code
Creating a pass through a QR code is a quick and simple process. First, you need to have a QR code that contains all the necessary information about the pass you wish to create. You can easily generate one using an online QR code generator. Once you have your QR code ready, open your Apple Wallet application. Click the “+” sign in the upper right corner of your screen. Then, scroll down to edit passes and scan code.
Note: It’s essential to have a reliable QR code generator to create an error-free, scannable QR code.
Navigating the Wallet Application
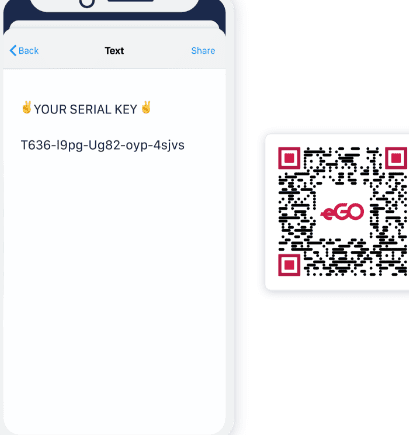
Before you can add a pass to your Wallet application, it’s essential to know how to navigate through the app. Once you have opened the Wallet application, you will be prompted to add a card. To scroll through your passes, swipe up or down on your phone’s screen. To view the back of a pass, tap on the card itself. You can also share passes by tapping on the share icon.
Tip: You can organize your passes by clicking on the “i” found in the lower right corner of the card. From there, you can add a name, change the color, or even choose to receive notifications in real-time.
The Scan Code feature and its availability
The “Scan Code” feature is an indispensable feature of the Wallet application. It allows users to add passes to their Wallet application through a QR code or barcode. However, the feature is not available on all iOS versions; it is only available on iOS 12 or iOS 11. Therefore, if you are using an older version of iOS, you will not be able to access this feature.
Pro Tip: Be sure to update your phone to the latest iOS version to enjoy this feature.
Scanning QR codes with iOS 11 and 12
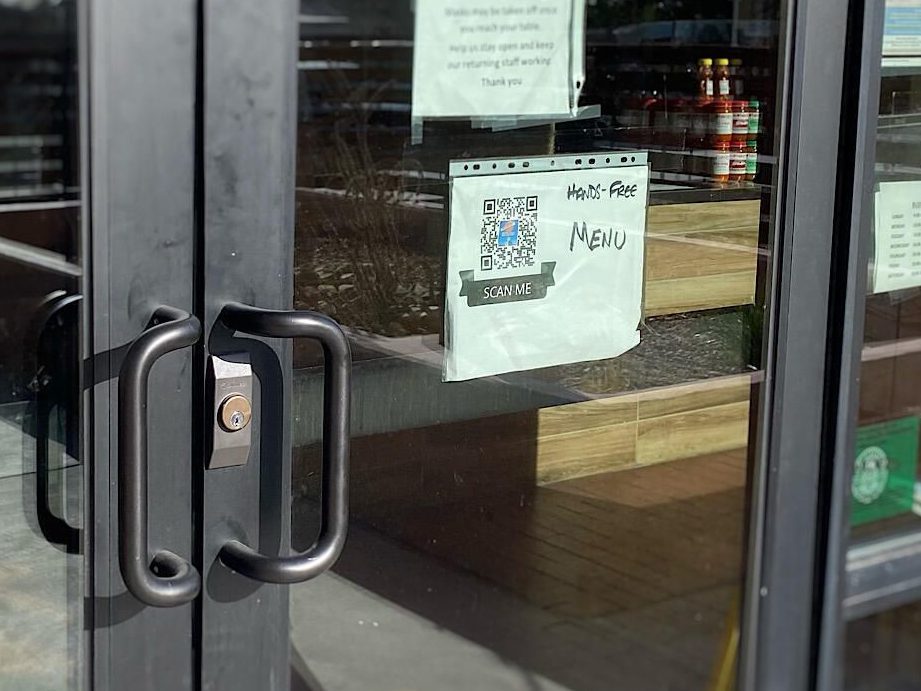
Once you have your QR code ready and the latest iOS version on your device, you can now start scanning. First, open the Wallet application and click on “edit passes.” From there, click on “scan code.” Point your phone camera at the QR code, and the scanner will begin scanning. Once the scanner recognizes the pass, it will appear on your screen.
Tip: When scanning QR codes, make sure that the camera lens is clean, and there is sufficient light in the environment.
Adding a Pass to Apple Wallet
After successfully scanning the QR code, a prompt will appear to add the pass to your Apple Wallet application. Click on “add,” and your pass will immediately appear in the Wallet. You can now view, edit or share your pass with others.
Pro Tip: You can even share your pass with friends who also own iOS devices by clicking on the share icon and selecting their name from your contacts.
Tips and Tricks for successful QR code scanning/iOS 12 Pass creation
To ensure a seamless Pass creation process and successful QR code scanning, we’ve compiled a list of tips and tricks to take note of:
- Use a high-resolution QR code for optimal scanning
- Avoid distorting the QR code while printing or attaching it to an object
- Ensure that the QR code has enough contrast to stand out on the surface it’s printed on.
- Make sure that the camera lens is clean and there is sufficient lighting when scanning
- Update to the latest iOS version to access the Scan Code feature
- Organize your passes by adding a name or changing the color
With these tips and tricks, you are on your way to creating and scanning error-free QR codes and adding them to your Apple Wallet with ease.
In conclusion, the Apple Wallet and QR codes have revolutionized the way we interact with passes, tickets, coupons, and more. The simplicity of creating and scanning QR codes, coupled with the convenience of having all your passes stored in one location, has made the Wallet application a must-have for iOS users. By following these tips and tricks, you can ensure a successful pass creation and QR code scanning experience.