Want to share your contact information with someone quickly and easily? Enter QR codes.
To transfer your contacts to a QR Code, just follow these simple steps: open the Contact application, choose the contact that you want to share, and click on QR Code. The unique QR Code generated on your screen can then be scanned by the receiving device. Tap on their QR Code, select Allow, and then place their QR code in the center of the square to transfer your contacts.
But before you transfer, here are some essential tips to keep in mind:
With QR codes, sharing contact information can be convenient and efficient. Whether it’s for personal or professional reasons, use this agile method to transfer information seamlessly.
Sharing Contacts with QR Code: A Step-by-Step Guide
Sharing your contact details with others has become easier and more convenient with the advent of QR codes. QR codes are versatile and can be used for a variety of purposes, including sharing contact information. This article provides a step-by-step guide on how to transfer your contacts to a QR code on your device.
Creating QR Codes for Contact Sharing
To create a QR code for contact sharing, you need to have a QR code generator app on your device. There are several QR code generator apps available for download on both Android and iOS devices. Once you have downloaded the app, you can proceed to create a new QR code by selecting the “Contact” option.
Opening the Contact Application
To share a contact via QR code, you need to open the contact application on your device. The contact application is usually pre-installed on your device, and it can be easily accessed from the home screen. Once you have opened the contact application, you can proceed to select the contact that you wish to share.
Selecting a Contact to Share
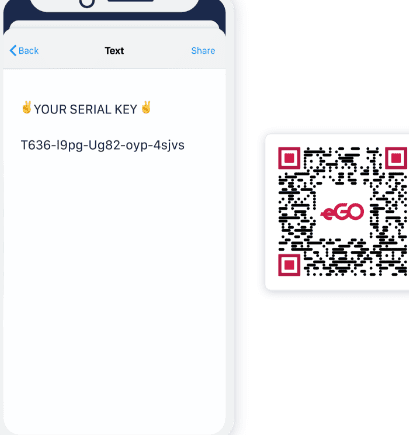
After selecting the contact that you wish to share, click on the option labeled “QR Code”. This will generate a unique QR code for that particular contact. The QR code will contain all the contact information, including the name, phone number, address, and email address.
Generating a Unique QR Code
Once you have selected the contact to share and clicked on the “QR Code” option, a unique QR code will appear on your screen. The QR code is unique to each contact and contains all the necessary information pertaining to that contact. The QR code can be scanned by any device that has a QR code scanner.
Scanning a Contact’s QR Code
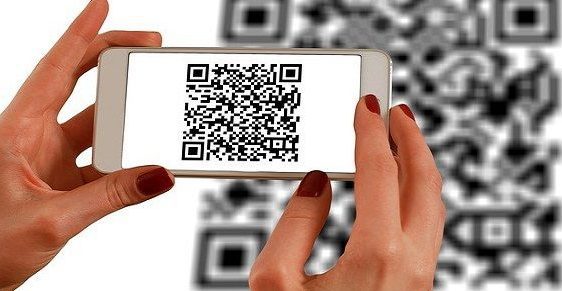
To scan a contact’s QR code, you need to open your device’s QR code scanner app. Most devices have a built-in QR code scanner that can be accessed by swiping down the notification panel and selecting the “Scan QR Code” option. Once you have opened the QR code scanner app, scan the QR code by placing it in the center of the square.
Allarging the Device to Scan Your QR Code
If the person you are sharing your contact with is having trouble scanning your QR code, try enlarging the QR code by selecting the “Enlarge” option. This will make the QR code larger on your screen, making it easier for the other person to scan it.
Including a Contact by Scanning their QR Code
You can also include a contact by scanning their QR code. To do this, open the QR code scanner app on your device and scan the contact’s QR code. The contact’s information will be added to your contact list automatically.
Extra Tips and Considerations for Sharing Contacts via QR Codes
When sharing your contact via QR code, it is important to ensure that the QR code is clear and easy to scan. You can do this by avoiding any obstructions in the QR code, such as shadows or reflections. Additionally, it is recommended that you verify the accuracy of the contact information before sharing it via QR code. This will ensure that the information is up to date and accurate. Finally, it is important to ensure that the other person’s device is compatible with QR codes before sharing your contact via QR code.